Questions & Troubleshooting
Step-by-step guides to help you get the most out of Sovereign Tax. If something looks off, start here.
On this page
Importing Your Exchange Data
Sovereign Tax accepts CSV files exported from any Bitcoin exchange — Coinbase, Kraken, Gemini, Swan, Strike, Cash App, and more. The app auto-detects your column headers and maps them to the correct fields. If something doesn't match, you can manually assign each column in seconds.
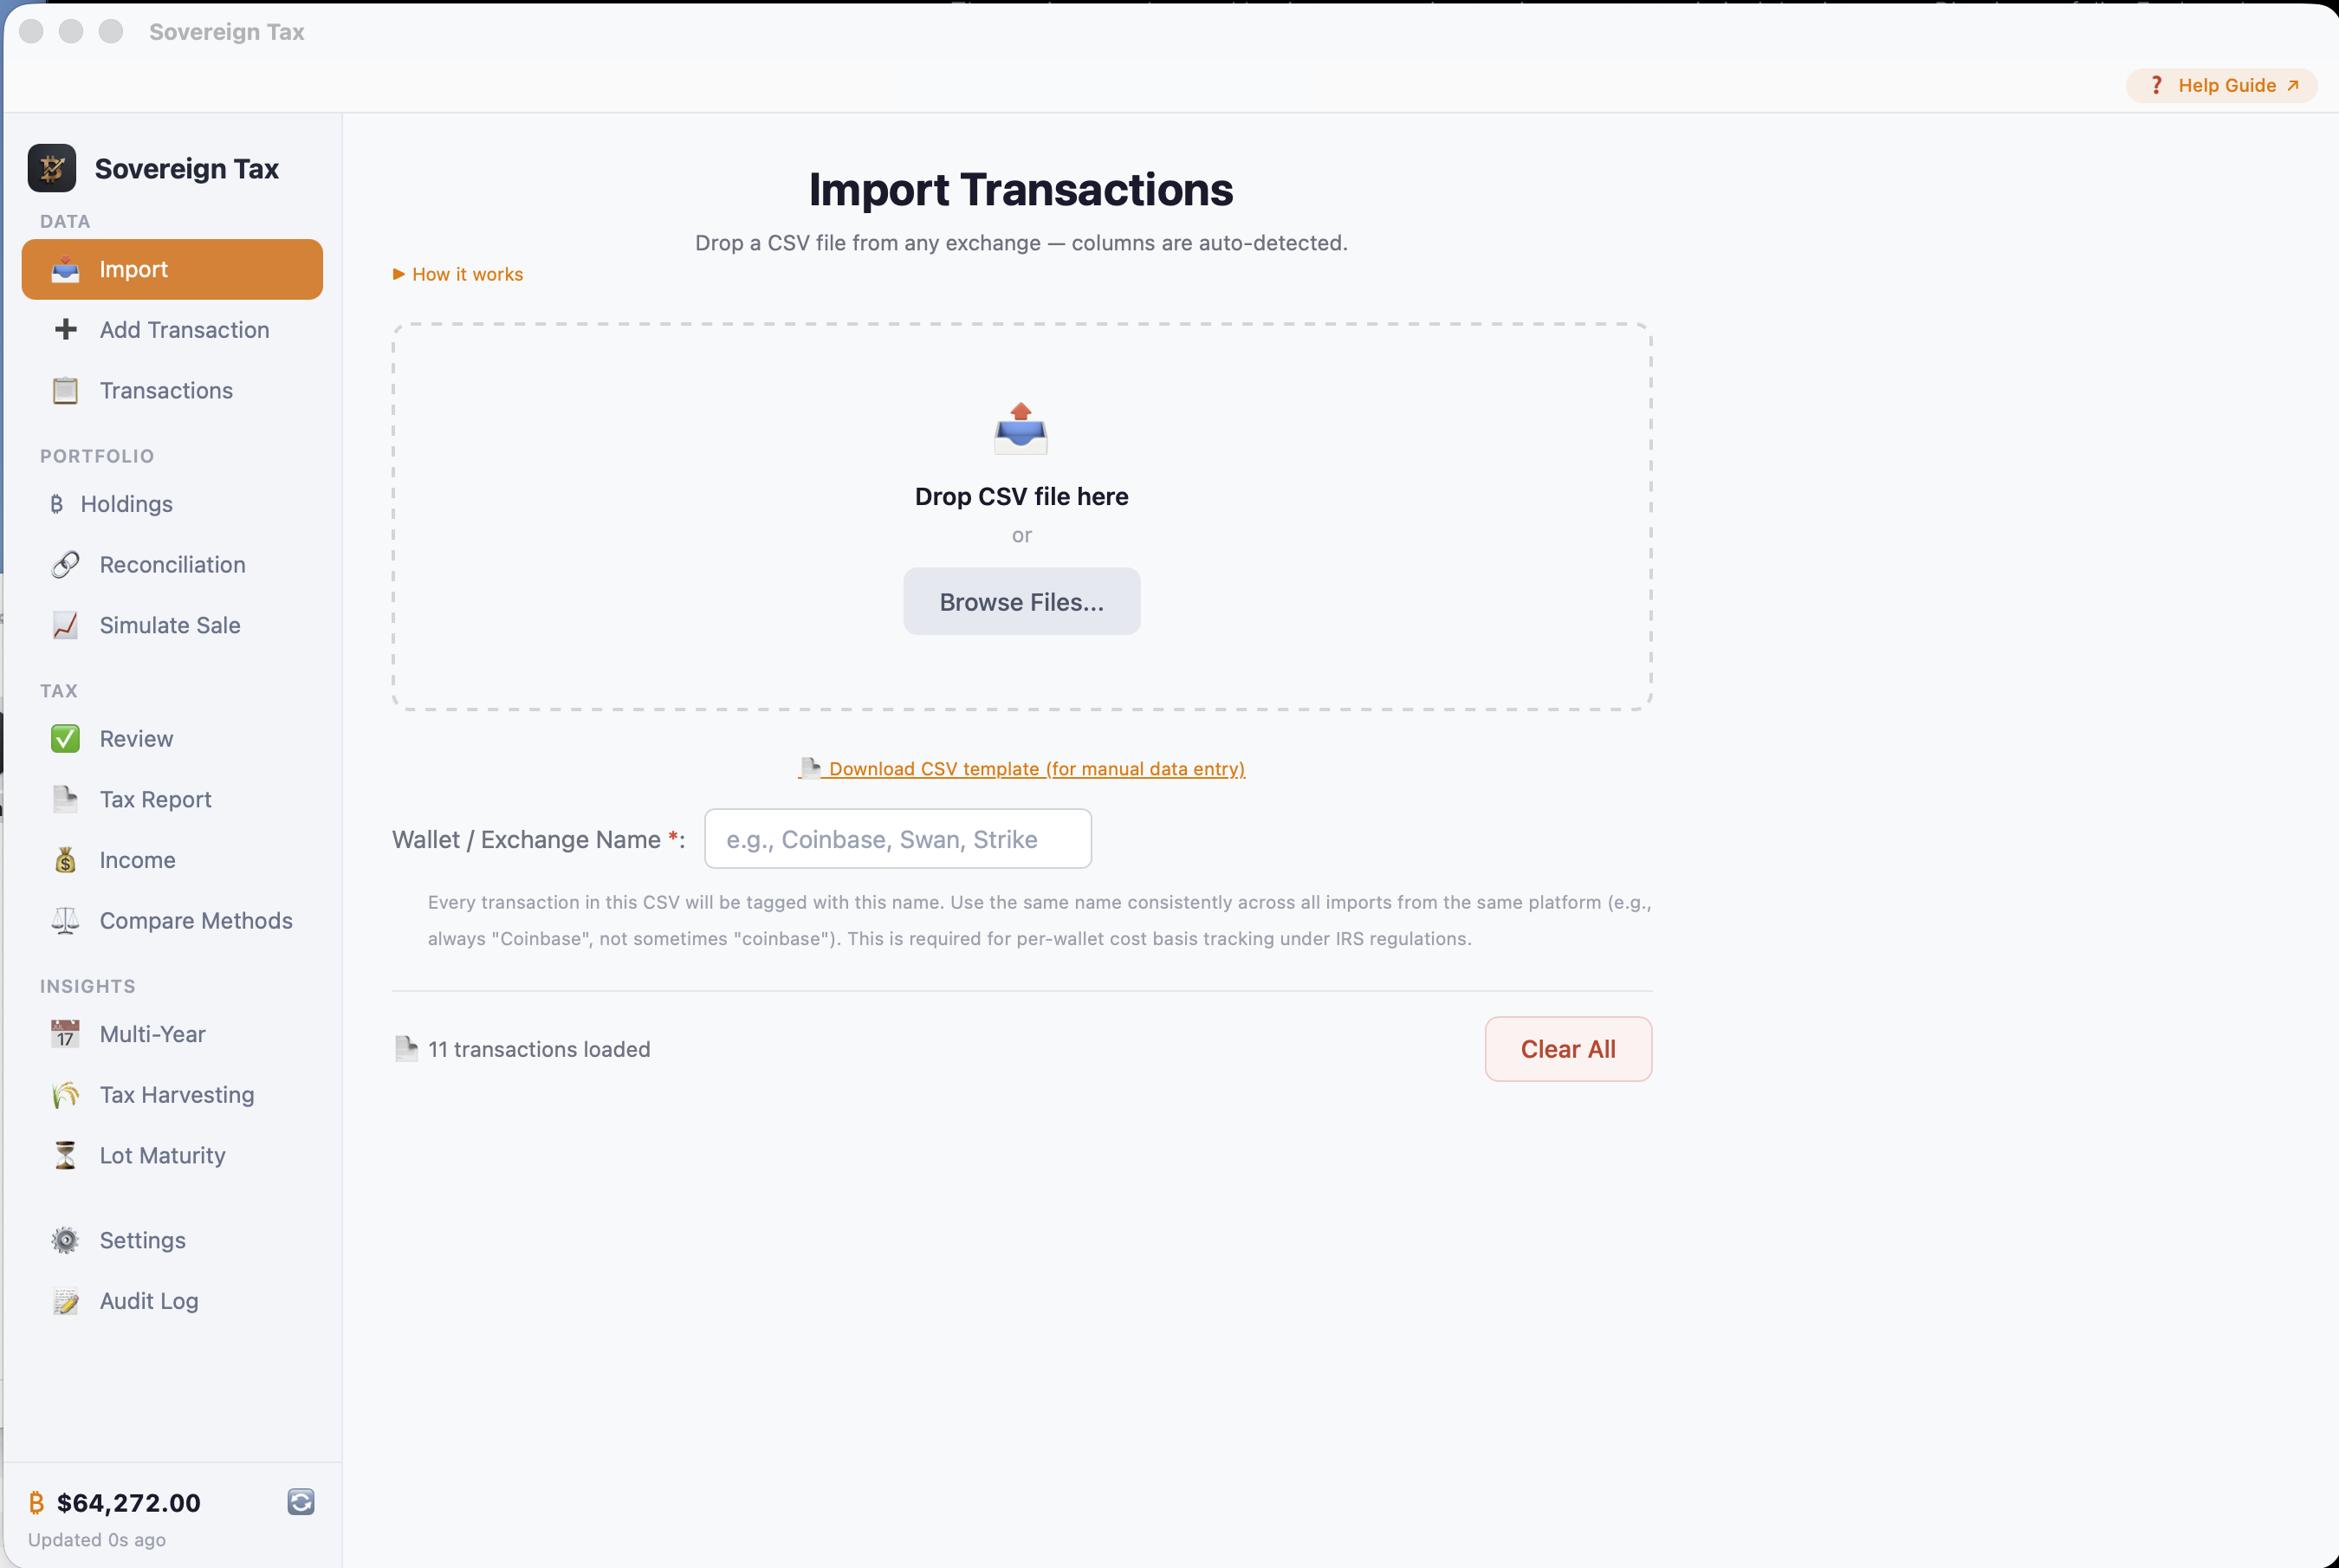
Step 1 — Drop or browse for your CSV
Open the app and click Import Data in the sidebar. You'll see the import screen where you can drag and drop your CSV file, or click "Browse Files..." to select it from your file system.
Optionally, enter the exchange name (e.g., "Coinbase", "Kraken") in the Exchange Name field. This helps Sovereign Tax remember your column mapping for next time — so future imports from the same exchange are instant.
Step 2 — Review the auto-detected columns
After you select a file, Sovereign Tax reads the headers from your CSV and tries to auto-detect which column is which. It recognizes 60+ common column name variations across major exchanges.
If everything matches, you'll see green checkmarks next to each mapped field and a green "All required fields mapped. Ready to import." message at the bottom.

✓ If all fields show green checkmarks
You're ready to go. Just click "Import Transactions" and your data will be imported. The app will automatically skip duplicate transactions if you've imported this file before.
Step 3 — Manually mapping columns (if needed)
If your CSV uses non-standard column names, the auto-detection may not match every field. You'll see "— Not mapped —" next to unrecognized fields and a yellow warning at the bottom listing the missing required fields.
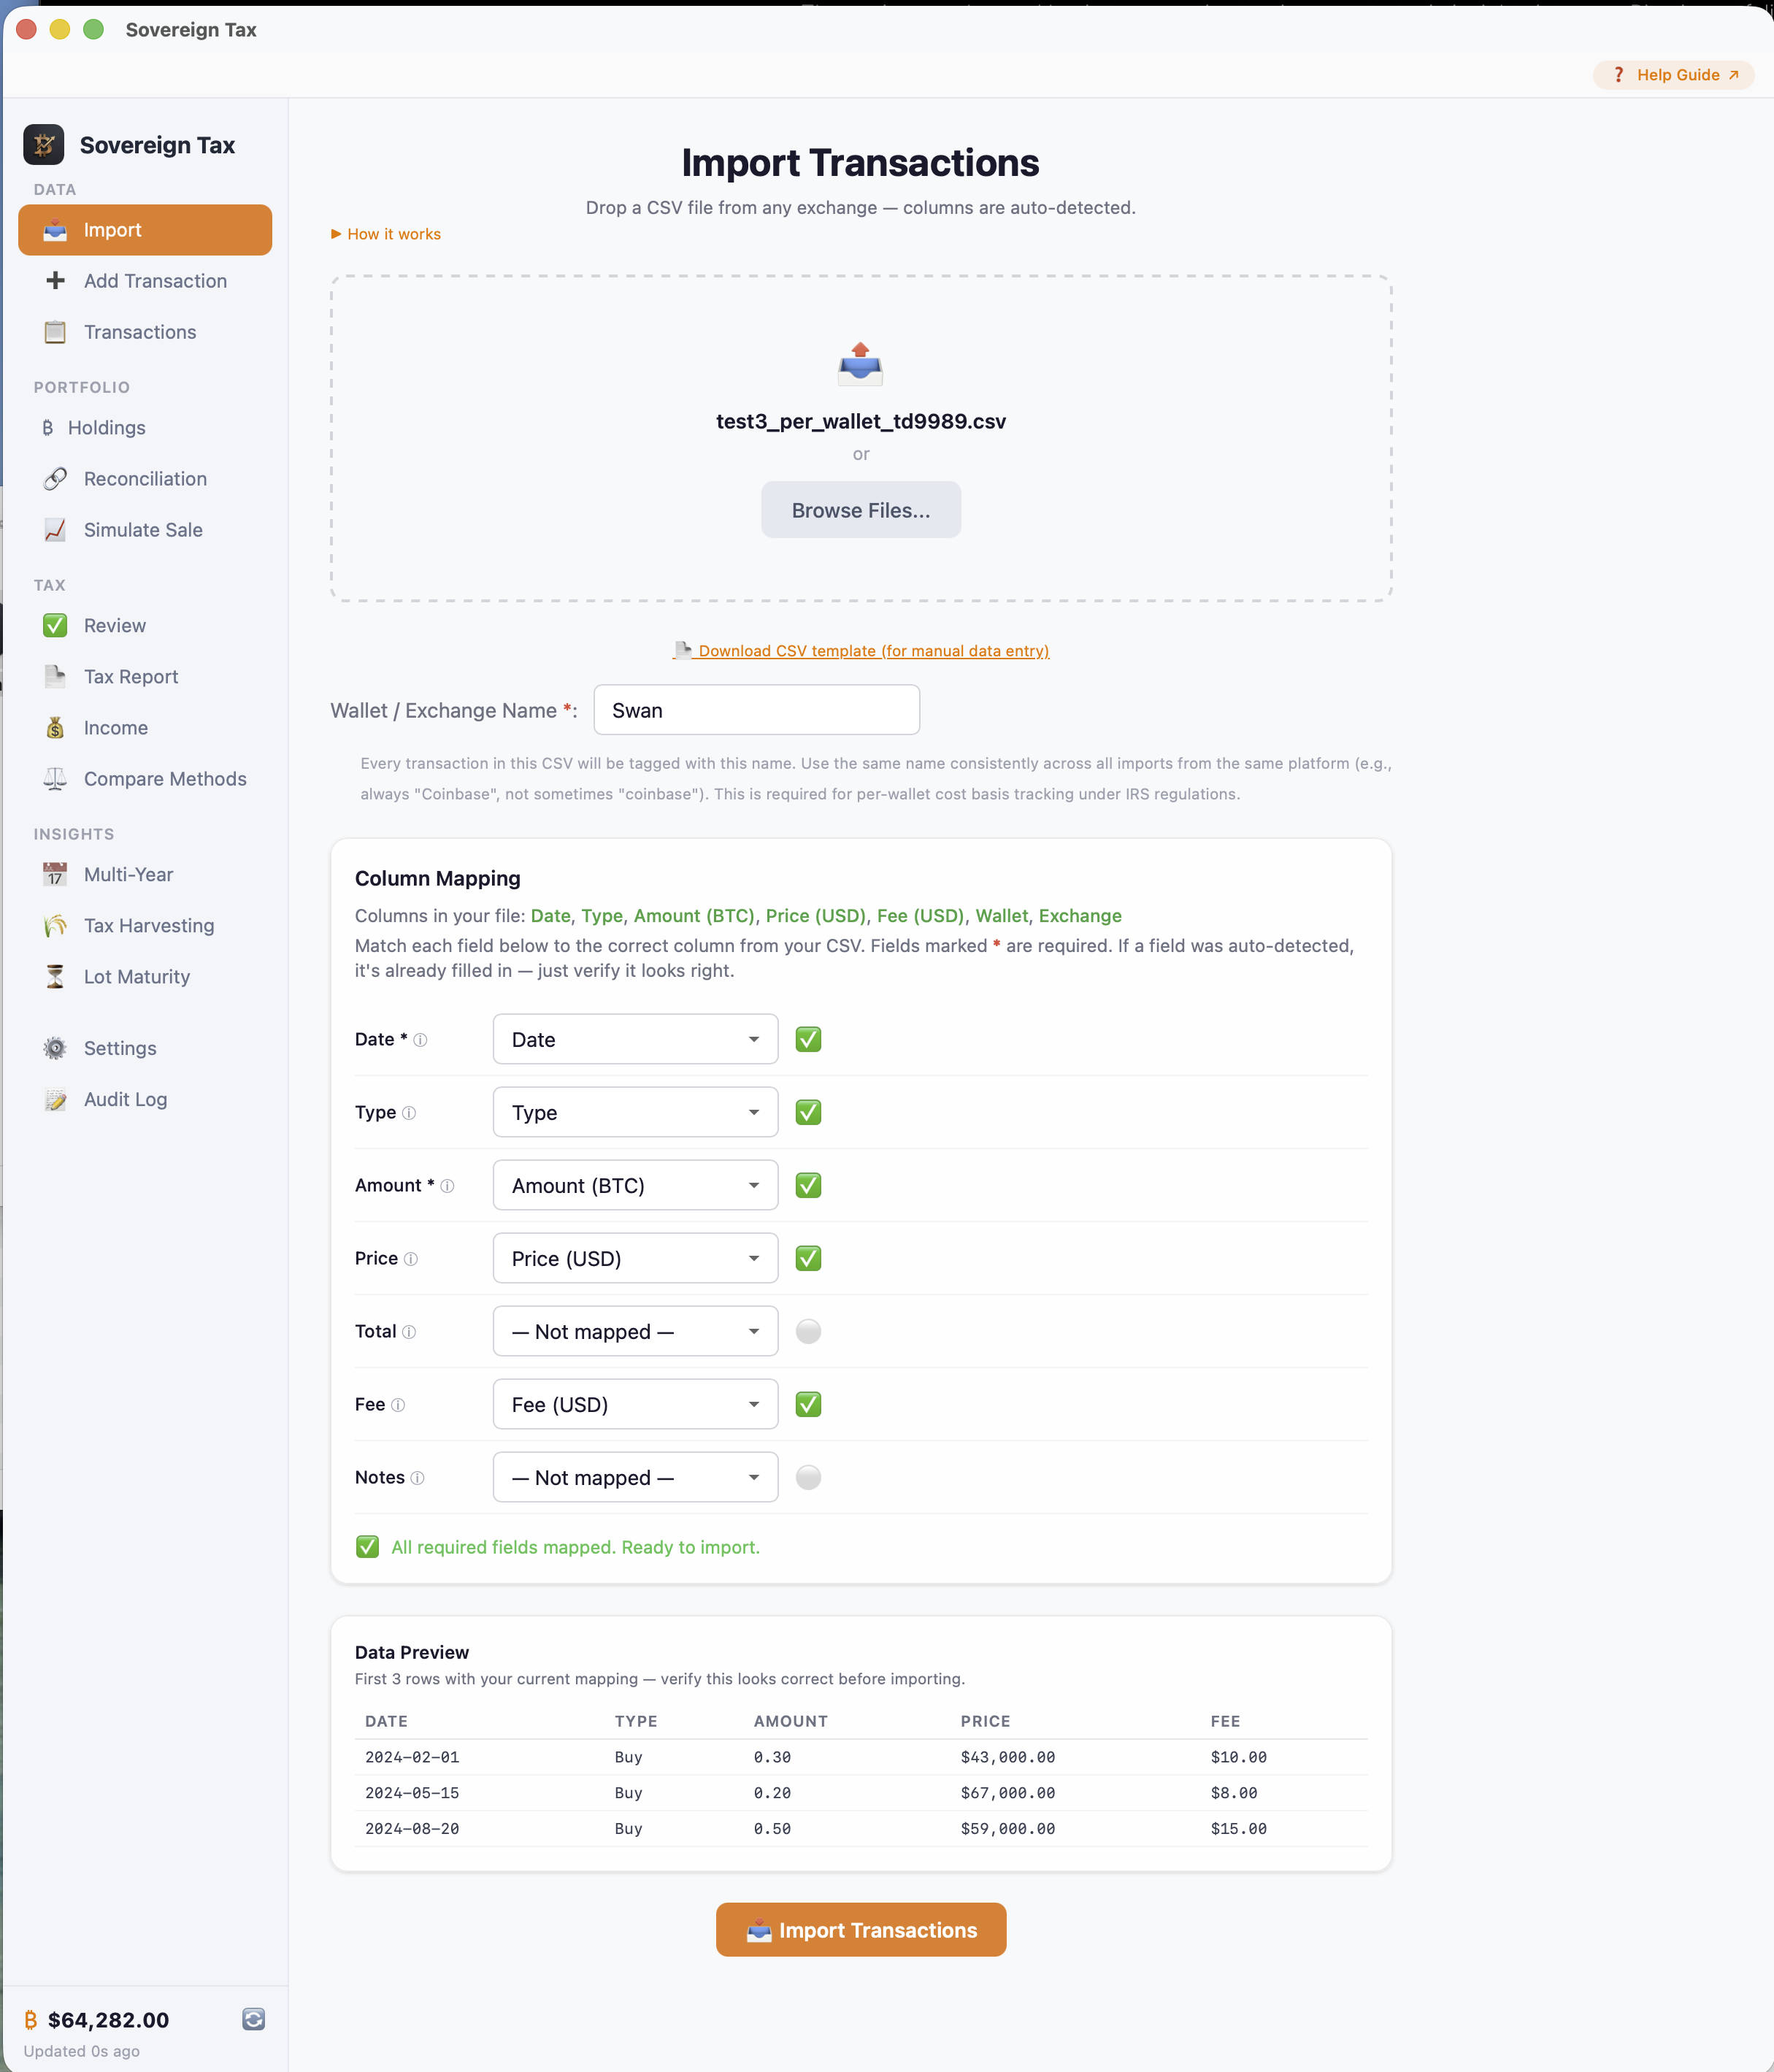
To fix this: click the dropdown next to each unmapped field and select the matching column from your CSV. The dropdown lists every column header found in your file. You need to match at minimum the Date, Amount, and either Price or Total fields (marked with *).
Here's an example of what your actual CSV data looks like alongside the mapping screen — use the column names in your file to guide your selections:
Once you've mapped the required fields, the warning will disappear and you'll see the green "All required fields mapped" confirmation:

What if my CSV doesn't have a "Type" column?
Some exchange exports don't include a column that says "Buy" or "Sell" for each row. When the app detects that no Type column is mapped, it will show an orange info box asking you to select a default transaction type that will apply to every row in the file.
ⓘ No Type column?
If your export only contains one kind of transaction (e.g., all purchases), select "Buy" as the default. If your export contains mixed types, you may need to split the file or manually add a Type column before importing.
The default type options are: Buy, Sell, Transfer In, Transfer Out, and Donation.
Column Reference
Here's what each mapping field means and whether it's required:
| Field | Required | Description |
|---|---|---|
| Date | Yes | The date the transaction occurred. Supports most formats (MM/DD/YYYY, YYYY-MM-DD, ISO 8601, etc.) |
| Type | No* | Buy, Sell, Send, Receive, etc. If not mapped, you'll set a default type for all rows. |
| Amount | Yes | The BTC quantity — how much Bitcoin was transacted (not the dollar value). |
| Price | No | The USD price of one Bitcoin at the time of the transaction. |
| Total | No | The total USD value of the transaction (Amount × Price). If you have this, Price is optional and vice versa. |
| Fee | No | Trading fees or commissions. Defaults to zero if not mapped. Fees are added to cost basis on buys and subtracted from proceeds on sells. |
| Wallet | No | Which wallet or sub-account this transaction belongs to. |
| Exchange | No | The exchange or platform where the transaction happened. |
| Notes | No | Any extra notes or description for the transaction. |
Tips & Common Issues
Duplicate protection
The app automatically detects and skips duplicate transactions. If you accidentally import the same file twice, duplicates will be filtered out. You'll see a count of how many were skipped.
Only Bitcoin transactions are imported
Sovereign Tax focuses exclusively on Bitcoin. If your CSV contains other cryptocurrencies, those rows are automatically filtered out — only Bitcoin (BTC/XBT) transactions are processed.
Exchange mappings are remembered
If you enter an exchange name before importing, Sovereign Tax saves your column mapping for that exchange. Next time you import from the same exchange, the columns will be pre-filled automatically.
Numbers are cleaned automatically
Dollar signs ($), commas, spaces, and other formatting in your CSV are handled automatically. You don't need to clean your file before importing.
"Missing required fields" warning
If you see this warning, it means Date, Amount, and/or Price/Total haven't been mapped yet. Use the dropdowns to assign the correct columns from your CSV. Once all required fields are mapped, the warning will clear.
Price vs. Total — you only need one
If your CSV has the price per Bitcoin, map that to Price. If it has the total USD value of the trade, map that to Total. If you have both, map both — the app will use whichever is most accurate. You don't need both.
Installing Sovereign Tax
macOS
Sovereign Tax is signed and notarized by Apple. Installation is straightforward:
Open the DMG
Double-click the SovereignTax-macOS.dmg file you downloaded.
Drag to Applications
Drag the Sovereign Tax app icon into your Applications folder.
Launch the app
Open your Applications folder and double-click Sovereign Tax. It will open normally — no extra approval steps needed.
Windows
Windows users may see a SmartScreen warning on first launch. Click "More info" and then "Run anyway". This is a one-time approval and is standard for independently distributed Windows software.
Still Need Help?
If the guides above didn't solve your issue, reach out directly and we'll get back to you as soon as possible.
Email Us
Send a description of your issue along with your Invoice ID (from your Strike receipt or Gumroad order) so we can look you up.
support@sovereigntax.ioWe typically respond within 24 hours.